DesertStorm Supply Drop Guide
How DesertStorm [EXTRACTION] supply drops work: spawn timing every 10–15 minutes, loot quality, PvP convergence, and safe approach routes for alpha raids.
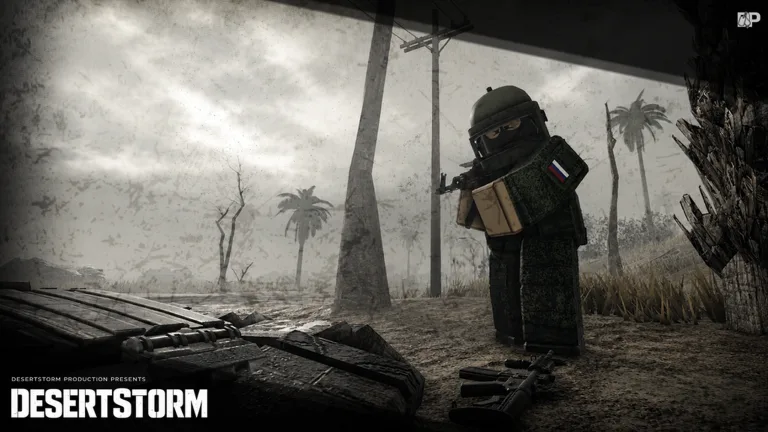
Supply drops are one of the highest-tension events on the Desertstorm Extraction main map. A crate or delivery lands on a visible marker, broadcasting opportunity to every player in the server. Community gameplay footage and developer-adjacent walkthroughs consistently describe drops arriving on roughly ten- to fifteen-minute intervals during active raids — enough time to finish a small loot loop, but short enough that camping one spot all raid is rarely optimal.
This guide explains how to read drop signals, what loot tiers to expect, how to fight or avoid third parties, and how supply runs fit into broader make money and first raid plans without donating your kit.
How supply drops spawn
During a live raid, watch the top-right HUD and map callouts — supply events typically announce with an aerial marker or falling container visual. Unlike static POI loot rooms, drops are dynamic: the landing zone shifts each event, pulling players from across the map.
Alpha behavior notes:
- Interval — Plan for ~10–15 minutes between drops; exact timing can shift per patch. After updates, verify in one low-cost raid.
- Server-wide visibility — Assume every nearby squad knows the coordinates.
- Extract still required — Drop loot only counts after a successful extract per how to extract.
Pair drop hunting with map literacy so you recognize terrain around common landing biomes — open dunes, compound edges, and highway intersections appear often in community clips.
What drops contain
Drop tables change during alpha, but rewards usually beat average world spawns:
- Weapons and attachments — Often mid-tier rifles or SMGs; compare against weapons tier list before swapping kits mid-raid.
- Ammo bundles — High value when your rig is dry; low value if you already carry two full mags.
- Medical stacks — Grab if your raid checklist meds are burned.
- Crafting components — Duct tape, electronics, and scrap tied to stash upgrades sometimes appear in mixed crates.
Value-per-slot discipline from loot value guide matters: a drop is not permission to greed every item. Pre-plan which slots you can free before arrival.
PvP around drops
Supply drops are PvP magnets. Expect:
- Early rushers — Sprint gear with light kits from budget starter builds.
- Late third parties — Players who let others open fire first, then push wounded squads.
- Extract campers — Some teams loot the drop then hold nearby angles toward popular extracts from extraction points.
Default solo strategy for new players:
- Arrive late — Let initial fight resolve unless you have squad numbers.
- Hold cover at 80m+ — Scan with ADS before committing.
- Set extract timer mentally — If drop fight runs long, bail with partial loot.
Aggressive players running PvP raider loadouts can flip drops into profit by wiping rushers — but only if audio discipline and PvP survival fundamentals are solid.
Squad coordination
On K squad voice or text, assign roles before rotating to the marker:
- Scout — Early peek from high ground (lighthouse ridges, radio towers — see POI guide).
- Looter — Opens crate while covered; keeps inventory space reserved.
- Rear security — Watches flanks; most wipe teams lose here.
If your squad lacks comms, treat drops as solo-no-go unless you are far closest and armed.
Risk vs reward decision matrix
| Situation | Recommendation |
|---|---|
| First raid, budget kit | Skip or observe from distance — learn timing |
| Mid stash, solo | Late push only if one enemy visible |
| Full squad, tier B+ kits | Contested push with extract plan |
| Low time left in raid | Ignore drop — extract beats greed |
| Post-wipe economy | Drops accelerate early trader tasks |
Connecting drops to economy
Successful drop chains fund:
- Trader reputation — Sell surplus weapons; keep task turn-ins.
- Stash expansion — Crafting mats feed stash upgrade requirements.
- Loadout upgrades — Move from budget to tier list A weapons after several clean extracts.
Do not chase drops every spawn if your insurance mindset (kit cost vs stash) says otherwise — consistency beats lottery wins in alpha.
After patches and wipes
Supply systems break silently in alpha. After each update or wipe:
- Run one observation raid with cheap gear.
- Confirm drop icon still appears on HUD.
- Re-test interval with a stopwatch once.
Report discrepancies via community resources so this wiki stays aligned with live behavior.
Video reference
Community overview showing drop cadence, extract HUD, and main HQ stash flow:
Related guides
- POI locations — military base, prison, lighthouse
- How to extract — 30-second channel rules
- Make money fast — drop routes plus trader flips
- Boss fights — another high-risk loot source
Supply drops reward patience and positioning more than raw aim. Learn the timer, pick your fights, and extract — the desert pays players who leave alive.
Frequently Asked Questions
Quick answers to the most common questions.
How often do supply drops spawn in DesertStorm?
Community footage and early access streams report roughly 10–15 minutes between drops on the main extraction map. Verify after patches on the [updates](/updates/) page.
Are supply drops worth it for beginners?
Observe first. Drops attract PvP. After your first successful extract from [first raid guide](/guides/first-raid/), try one late push with a [budget kit](/builds/budget-starter/).
Do I keep drop loot if I die?
No. Loot only saves to stash after extract, same as all raid items.
Where do supply drops land?
Landing zones rotate each event. Use [map POI guide](/map/poi-locations/) terrain knowledge to approach safely.
Can squads split drop loot?
Yes — coordinate on K before opening the crate so inventory space and extract timing are aligned.